The basic process for giving yourself a login prompt to a Linux box via vncviewer is:
vncserver
vnc4server
tighvncserver
or other.
Sometimes you have to try different VNC server packages until one works
ps -ef | grep
dm
/usr/bin/gdm-binary -nodaemon
Depending on what desktop environment you are runing this could be gdm | xdm | kdm enabling XDMCP on each display is covered in the next few sections
vi /etc/sysconfig/desktop
# add DISPLAYMANAGER
DESKTOP=KDE
DISPLAYMANAGER=KDM
vi "/etc/X11/xdm/Xaccess"
#
add a line with 'localhost' as the only entry
# delete the
`*' this will stop it accepting Xdmcp logins from any
host
localhostvi /usr/share/config/kdm/kdmrc
#
Enable Xdmcp
[Xdmcp]
Enable=true
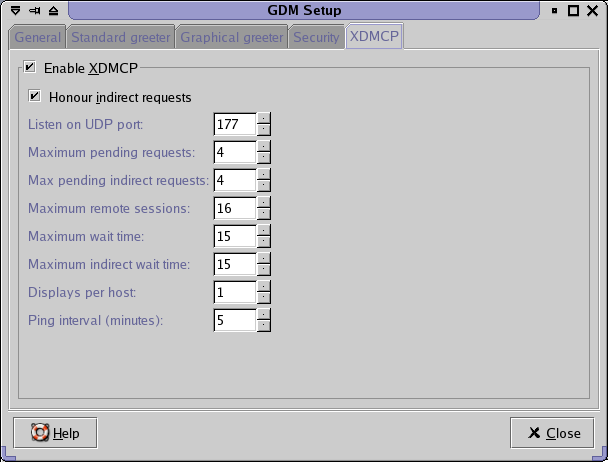
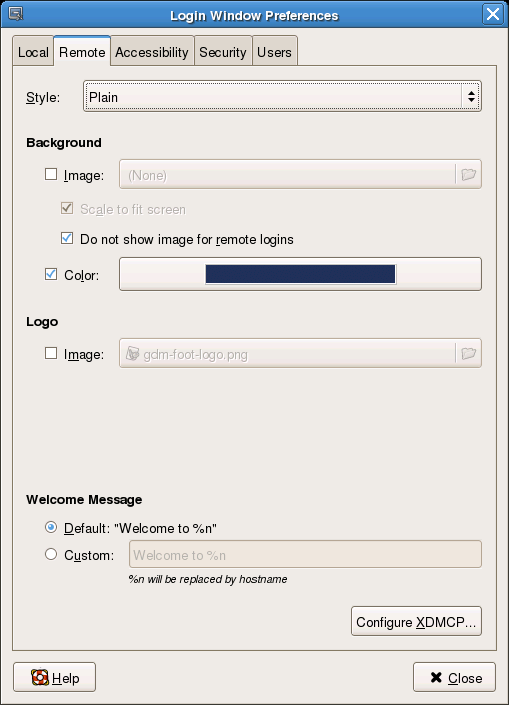
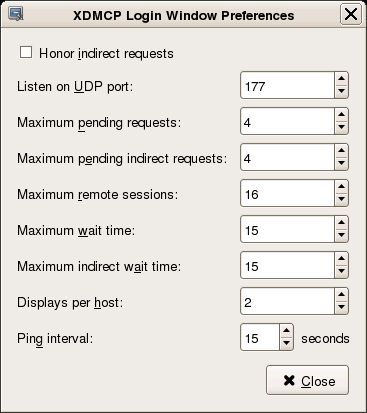
gdmsetup
# enter root password
# make sure the Enable XDMCP option is
enabled
Change the gdm.conf file to read as
follows
[xdmcp]
# Enable=false change it to true
Enable=true
* #any host can get a login window
! SECURITY: do not listen for XDMCP or Chooser requests
!
Comment out this line if you want to manage X terminals with xdm
!
DisplayManager.requestPort: 0
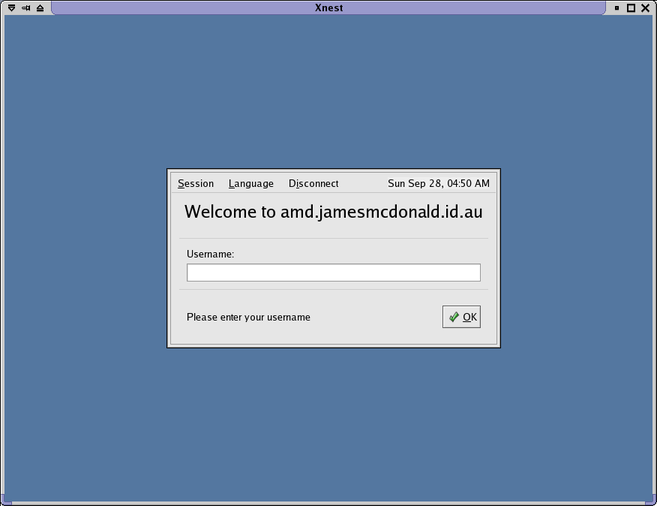
# make sure you have the XFree86-Xnest
package installed then run
Xnest :3 -query localhost
#
should produce a login window as follows
# add this to /etc/services
vnc-800x600
5901/tcp #
vnc 800x600 session
vnc-1024x768 5902/tcp
# vnc 1024x768 session
# create two files for xinet.d to handle launching the Xvnc server in /etc/xinetd.d/
# note that the name in /etc/services does not dictate what size of screen but is simply a description. You need to edit the -geometry parameter to get the screen size you want.
service vnc-800x600
{
        disable = no
        socket_type     = stream
        protocol        = tcp
        wait            = no
        user            = nobody
        server          = /usr/X11R6/bin/Xvnc
        server_args     = :1 -inetd -query localhost -geometry 800x600 -depth 16 -once
        # note on some brands of linux the server value will be /usr/bin/Xvnc (check yours for the correct value)
        # also the server_args value may need -securitytypes=none to stop the remote vncviewer being prompted for a
        # vnc password instead of the GDM/XDM login prompt
}
service vnc-1024x768
{
        disable = no
        socket_type     = stream
        protocol        = tcp
        wait            = no
        user            = nobody
        server          = /usr/X11R6/bin/Xvnc
        server_args     = :2 -inetd -query localhost -geometry 1024x768 -depth 16 -once
        # note on some brands of linux the server value will be /usr/bin/Xvnc
        # also the server_args value may need -securitytypes=none to stop the remote vncviewer being prompted for a
        # vnc password instead of the GDM/XDM login prompt
}
service vnc-800x600

{
        disable = no
        socket_type     = stream
        protocol        = tcp
        wait            = no
        user            = nobody
        server          = /usr/bin/Xvnc

server_args     = -inetd -query localhost -geometry
800x600 -depth 16 -once -securitytypes=none
}
service vnc-1024x768
{
        disable = no
        socket_type     = stream
        protocol        = tcp
        wait            = no
        user            = nobody
        server          = /usr/bin/Xvnc

server_args     = -inetd -query localhost -geometry
1024x768 -depth 16 -once -securitytypes=none
}
vnc-800x600 stream tcp
nowait nobody /usr/sbin/tcpd \
/usr/bin/Xvnc :21
-rfbport 5901 -inetd -query localhost -geometry 800x600 -depth 16
-once
vnc-1024x768 stream tcp
nowait nobody /usr/sbin/tcpd \
/usr/bin/Xvnc :22
-rfbport 5902 -inetd -query localhost -geometry 1024x768 -depth 16
-once
Note: If you specify a Xvnc server port eg :21 then your vnc port listen port will be 5921 and when launching via inetd then the vnc server will be listening on the wrong port. To make the inetd setup work you need to force Xvnc to use the same port as the one you specify in /etc/services passing the “-rfbport” <portnumber> parameter fixes this i.e. -rfbport 5902
# run this to get xinet.d to reread it's config
/etc/rc.d/init.d/xinet.d reload
or
service xinetd reload
# restart X or telinit 3 and then telinit 5 or kill -SIGHUP pid of gdm
# add some firewall rules to stop connections from anywhere except localhost
iptables -A INPUT -s 127.0.0.1 --dport 177 -j ACCEPT
iptables
-A INPUT -s 0/0 --dport 177 -j DENY
I recently installed on Debian and had trouble until I did an
apt-get install xfs