
Synology Configuration
Plug in as many network cables between your Synology and Unifi Switch as you want to be in the bond. Each Network Interface on the Synology will receive an IP address via DHCP from the UDM.
Login to your Synology using one of the IP addresses it picks up.
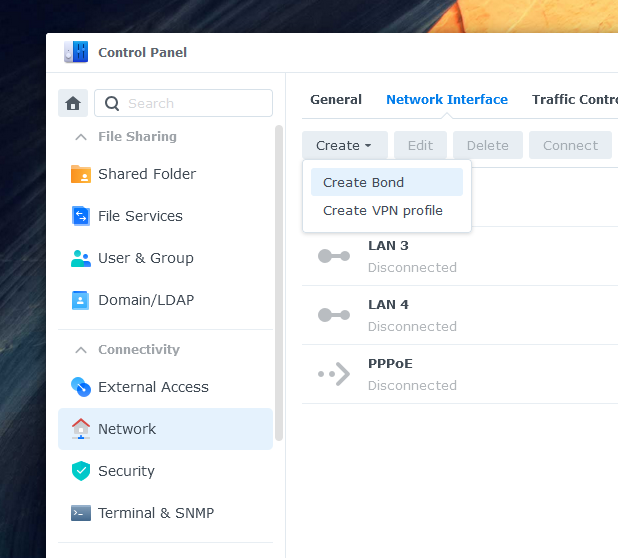
Create the Bond in Synology by going to Control Panel => Network => Network Interface => Create => Create Bond
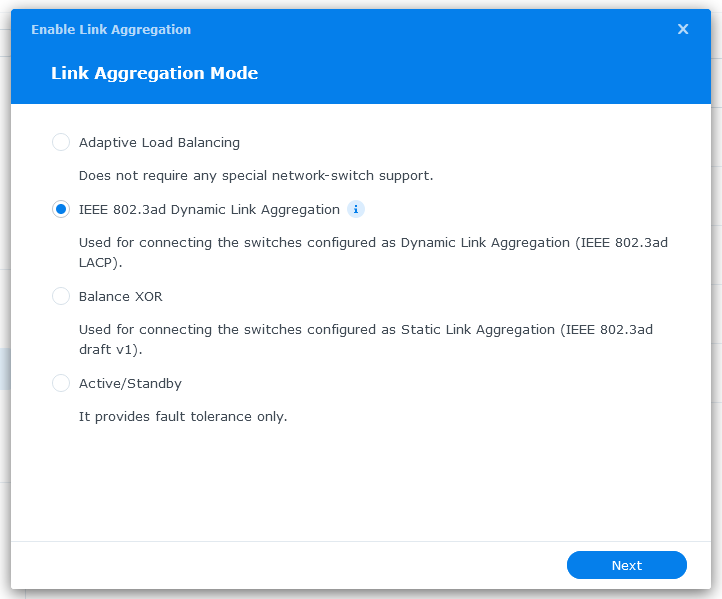
Select IEEE 802.3ad Dynamic Link Aggregation (LACP)
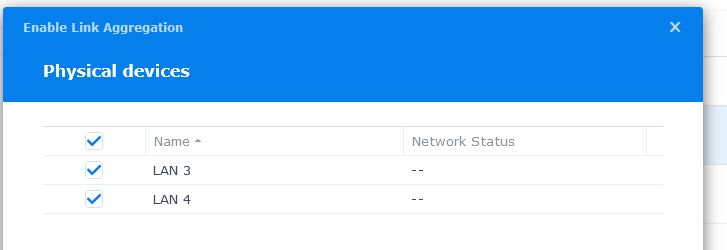
Select the Network Interfaces that you want to include in the Bond (in my case it was LAN 1 and 2. This screenshot was taken after I've already assigned them so you see LAN 3 and 4 instead)
I generally set a reservation in Unifi to the IP address I want

Click Done and it will show you it is saving
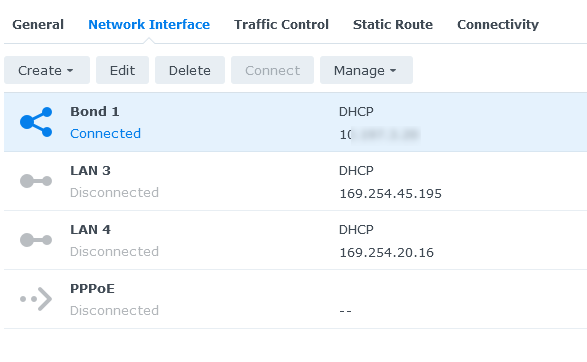
This is what it looks like in Synology when the bond is created the LAN 1 and 2 Network Interfaces are replaced by Bond 1
Unifi Configuration
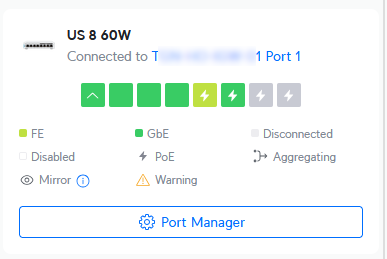
Open the Port Manager for the Unifi Switch the Synology is plugged into
Identify the ports that your Synology is plugged into. For Link Aggregation they need to be consecutive ports. In my case it's port 3 and 4
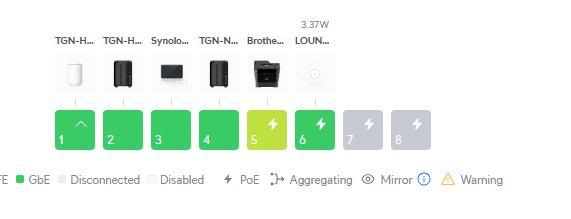
Click the first port
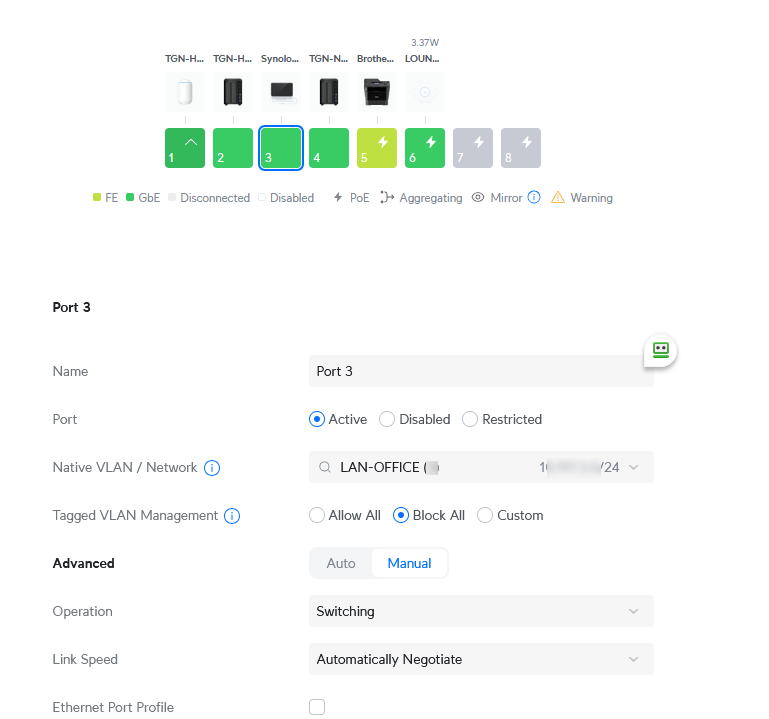
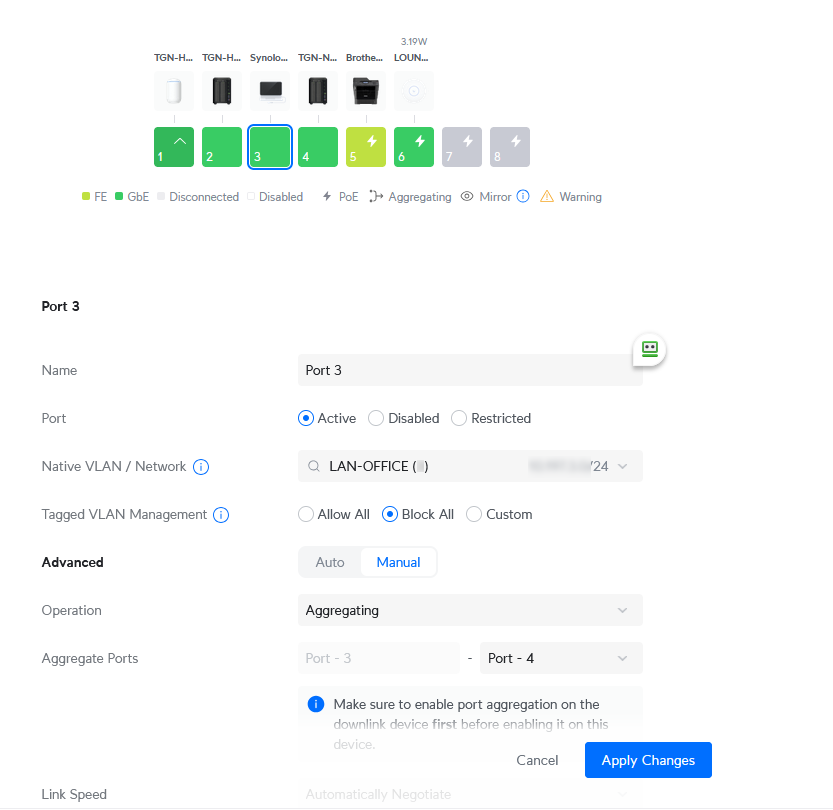
Make sure that the Native VLAN is correct and set Operation to Aggregating. Make sure the Aggregate ports ending port is correct. Click apply changes
0 Comments